- Home
- Blog
- Digital dentistry
- Dental laboratory scanners
Dental laboratory scanners — how to choose?
A dental lab that utilizes a digital workflow in dentistry needs a digital impression of the patient’s mouth. There are two ways to create this digital file: either the doctor scans the patient directly with an intraoral scanner and sends that file to the lab, or the doctor takes a conventional impression, and sends the gypsum model to the lab. In the latter case, the lab needs a dental model scanner to digitize the impression so that they can start the digital design process. Below we will explain what lab scanners can do and how they compare.
What is a dental lab scanner?
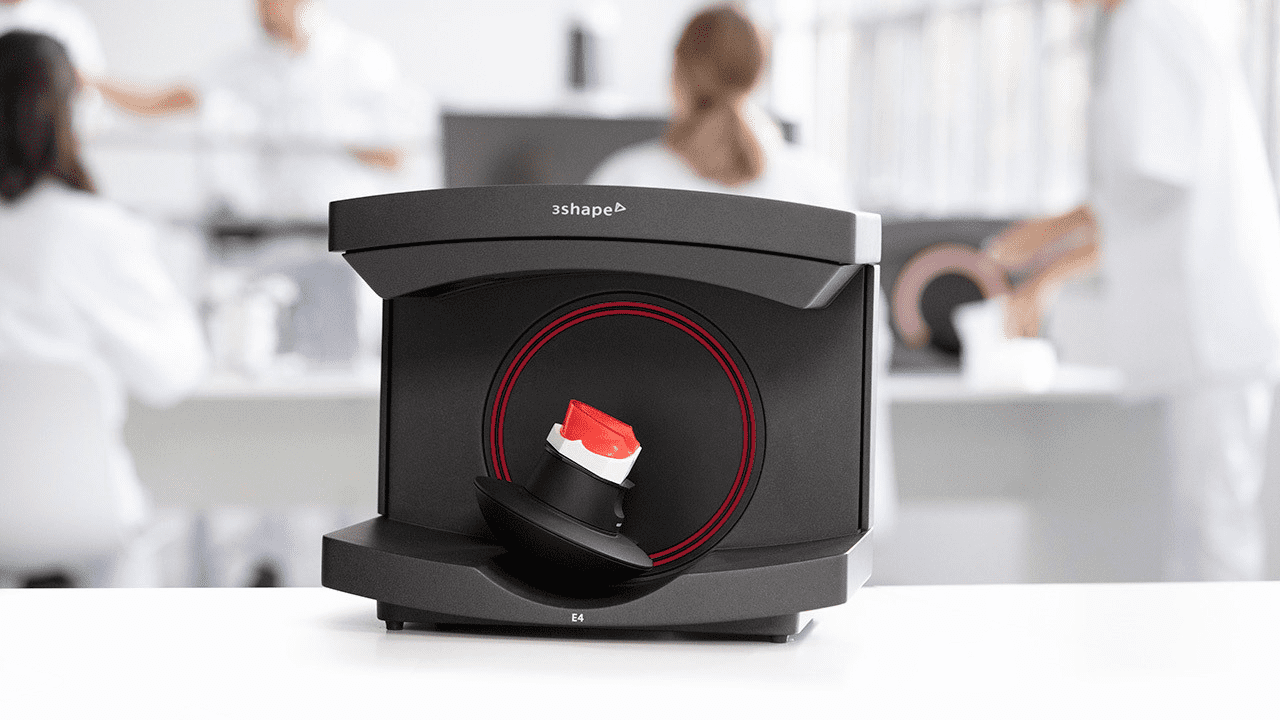
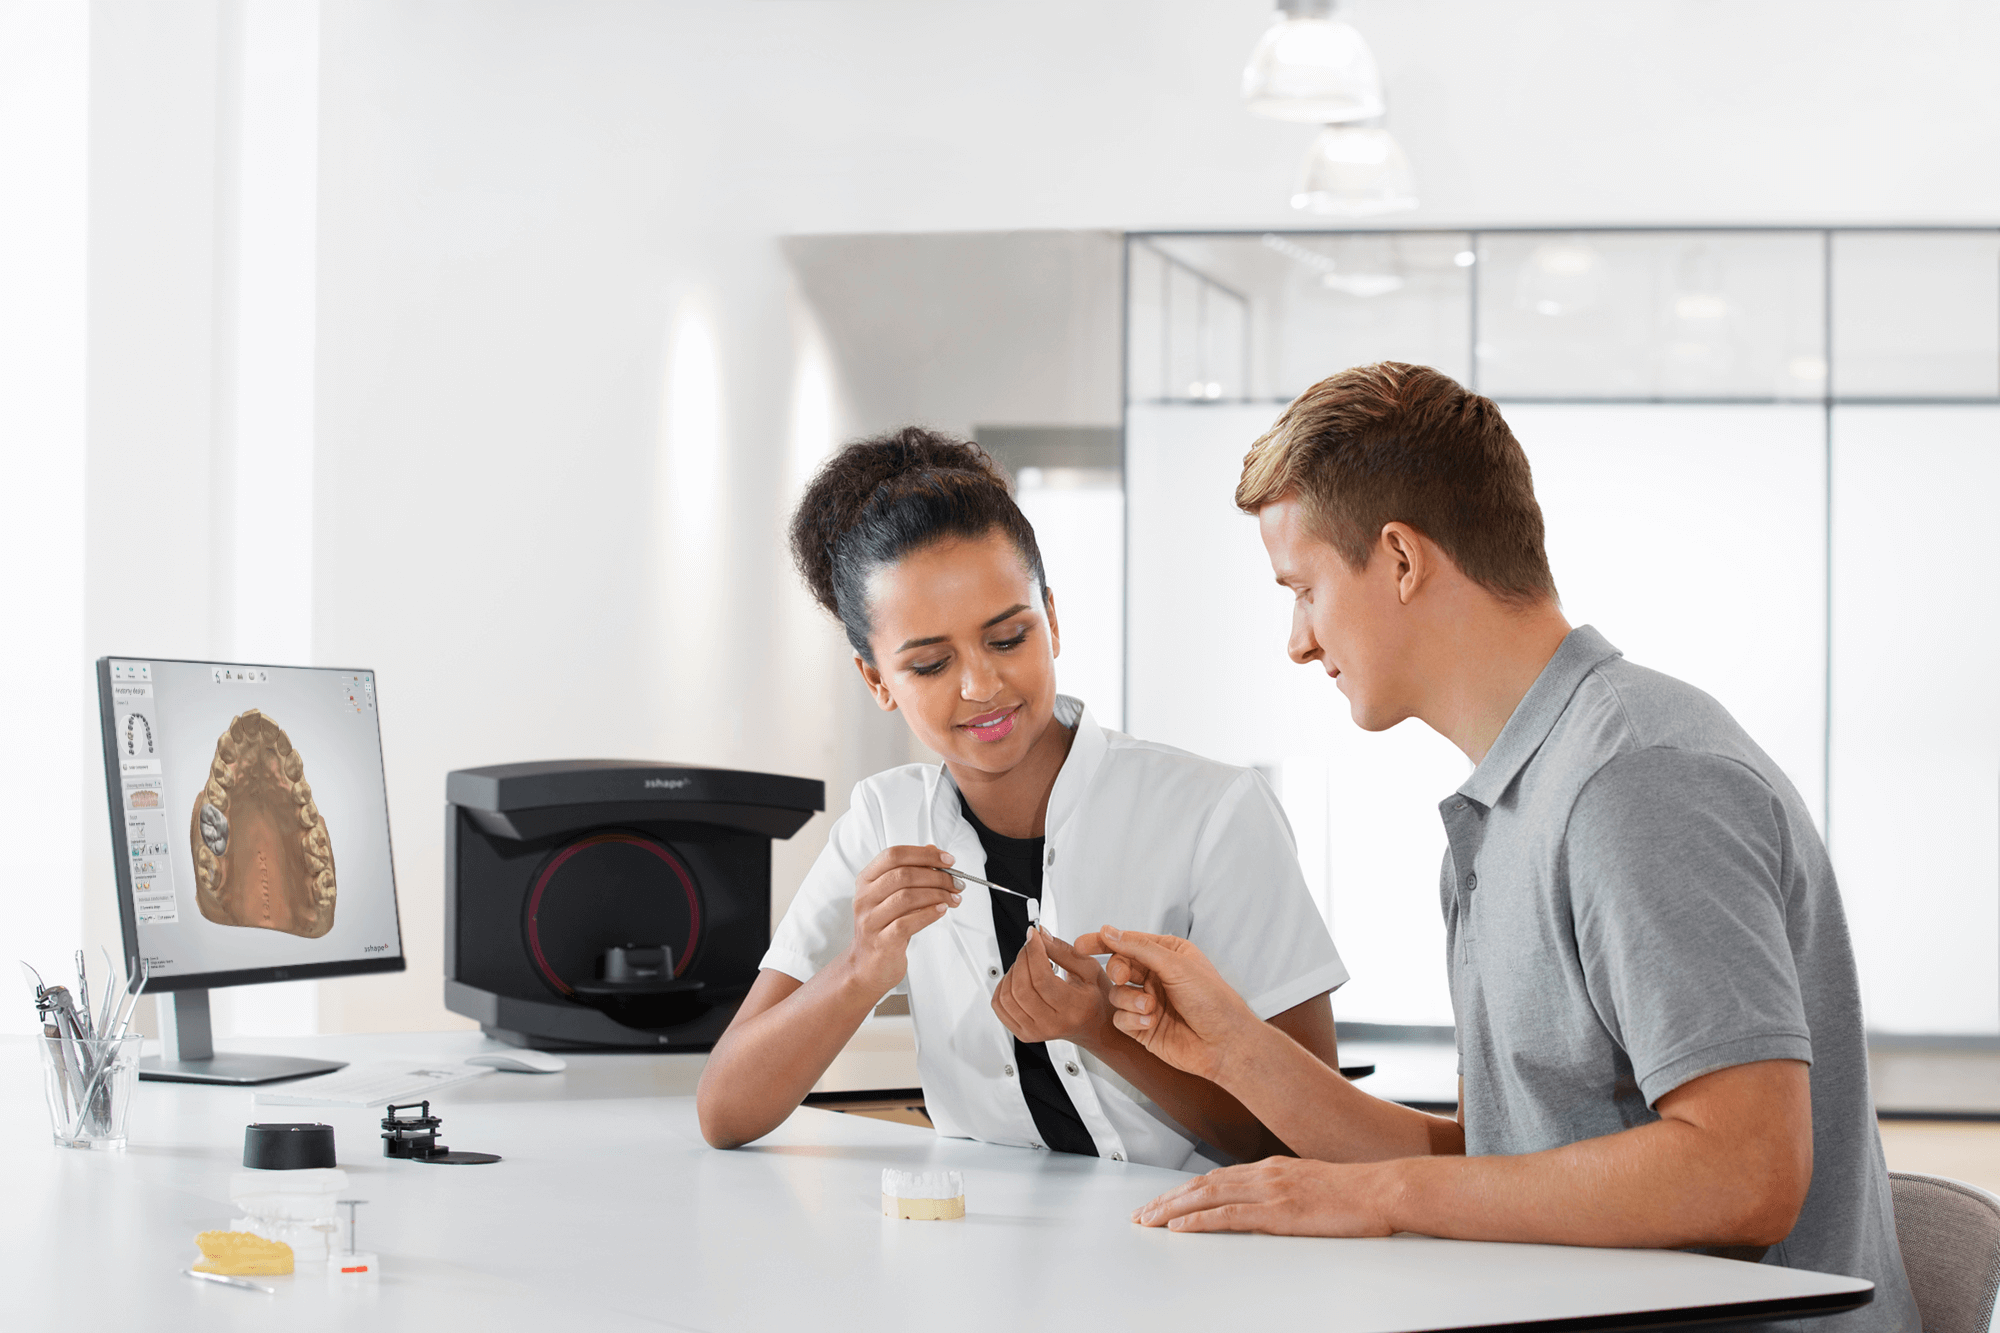
A dental laboratory scanner, also called a dental model scanner is a desktop scanner that allows dental technicians to simply place a model (or die — a small model of the crown or root surface of the tooth) inside it, press a button, and the scanner generates a 3D model. Usually 3D scanners for dental models are sold as a bundle with a software package that lets the dental technician start design and production right away. This is also called CAD/CAM dental software: the dental lab utilizes computer-aided design technology.

What can dental laboratory scanners do?
The scanner generates a digital file for you within a matter of seconds. Based on the type of treatment that the dental technician is going to design for, the accuracy can be defined beforehand.
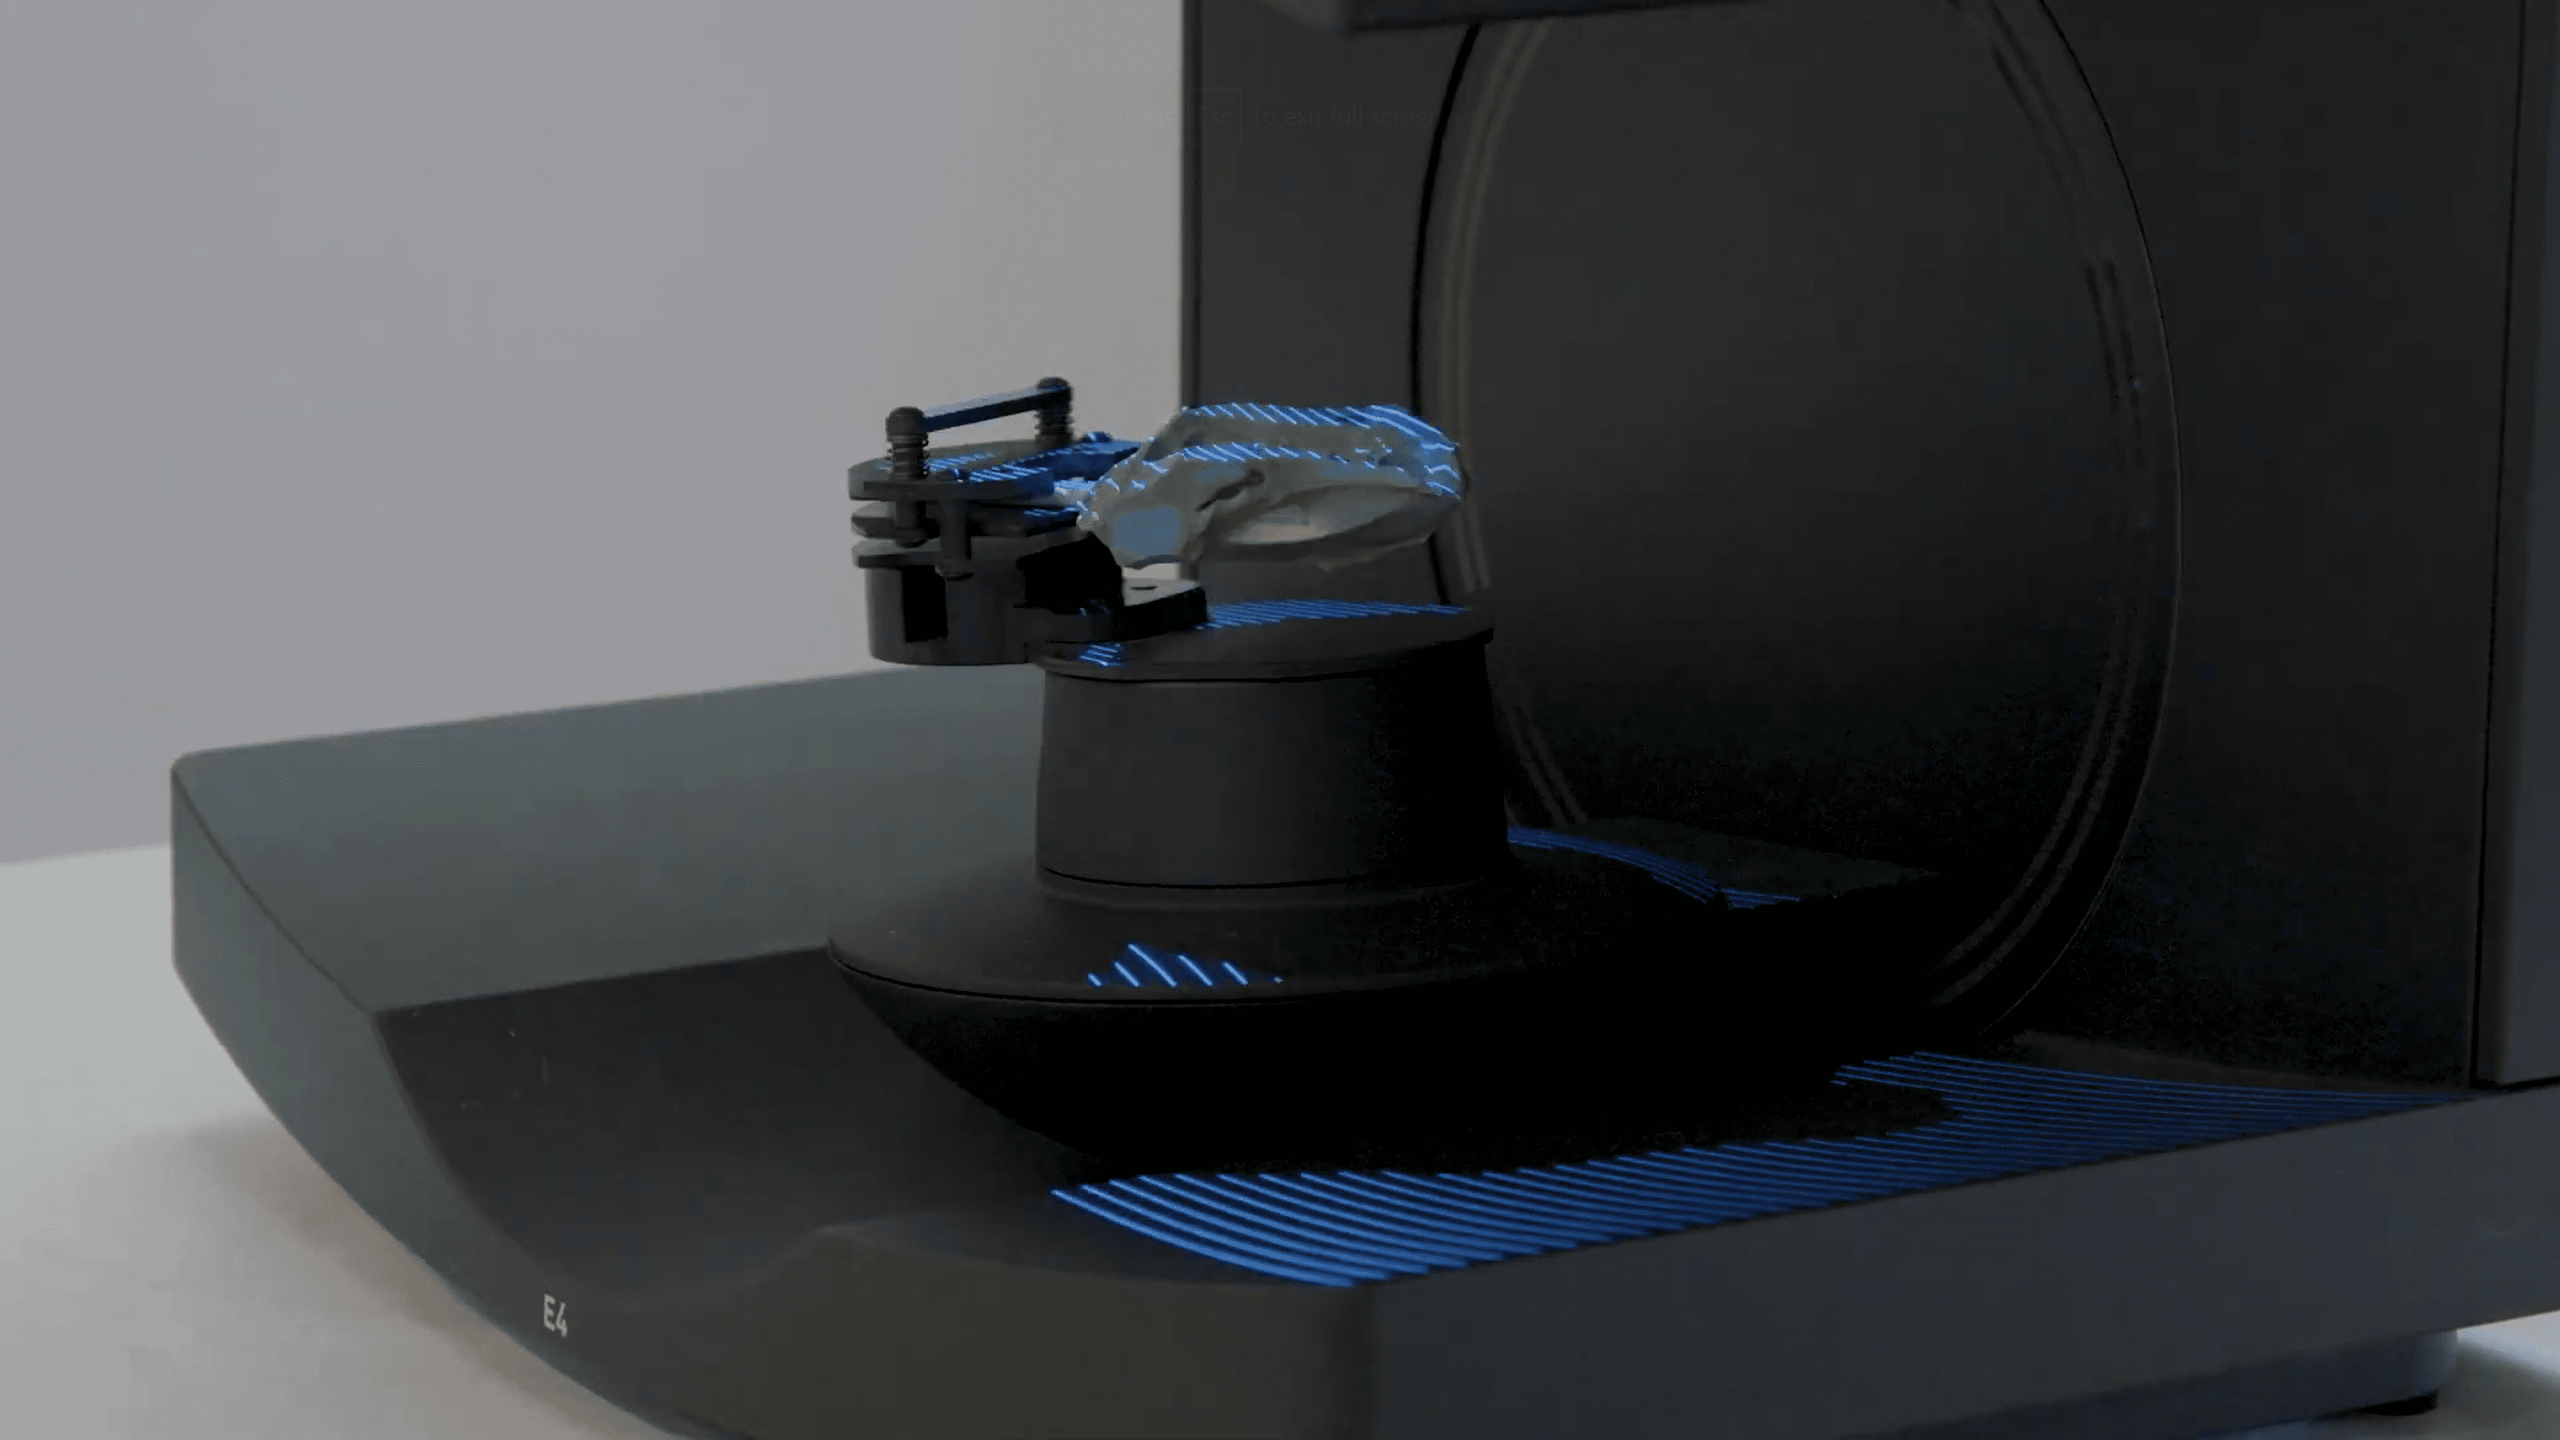
The way the scanner works is by simultaneously projecting light onto the scanned object and capturing an image of the object with on-board cameras. Combined, this will generate a 3D model of the object right away.
Some scanners use laser light, but nowadays most scanners use structured light. Using structured light is generally seen as more practical, because it allows for an open scanner, which is easier to operate. The dental technician doesn't need to open and close the scanner but can just place the object on the holder and the scanning begins automatically.
Benefits of lab scanners:
- Speed. Scanning a model takes less than a minute which means that busy labs can save hundreds of hours per year because their lab technicians do not need to manually create casts or sit and wait for files to be processed.
- Accuracy. There is consistent scientific evidence to support the validity of measurements from digital dental models in comparison with intra-arch dimensional measurements directly obtained from them 1. De Luca Canto G, Pachêco-Pereira C, Lagravere MO, Flores-Mir C, Major PW. Intra-arch dimensional measurement validity of laser-scanned digital dental models compared with the original plaster models: a systematic review. Orthod Craniofac Res. 2015 May;18(2):65-76. doi: 10.1111/ocr.12068. Epub 2015 Feb 11. PMID: 25677755., even though the human factor will always remain a big influence too (operating the scanner has an impact on the outcome). In addition to this, model scanners tend to be a bit more accurate than intraoral scanners 2. Lee SJ, Kim SW, Lee JJ, Cheong CW. Comparison of Intraoral and Extraoral Digital Scanners: Evaluation of Surface Topography and Precision. Dent J (Basel). 2020 May 20;8(2):52. doi: 10.3390/dj8020052. PMID: 32443865; PMCID: PMC7344681. .
- Predictability of treatment outcomes. Traditional impression techniques can involve multiple stages and each stage brings a risk of decreasing accuracy with it. A scan on the other hand is stable so treatment can be planned with the end in mind.
- Cost savings. Scanning digital dental impressions is quick and does not require time or materials to create models. Even though a dental model scanner can seem like quite an investment, the ROI tends to be good, especially for busier labs that want to process many cases.
How to assess a scanner’s accuracy?
Depending on the restoration you are working on, accuracy can define quality. The choice of a lab scanner is dictated by the restorations the lab is producing. If your restorations are complex, it is generally recommended to choose a scanner with higher accuracy. Implants, for example, require the highest degree of accuracy. On the other hand, for technicians new to CAD/CAM systems that work on basic restorations, the highest degree of accuracy does not play a key role.

Comparison of dental lab scanners
As mentioned, scanners vary in the way they function. However, the evolution of scan technology has reached a point where most model scanners perform in more or less the same way. Comparing dental laboratory scanners on quality will not show big differences, but it does pay off to look at surrounding factors such as what it’s used for, integrations with software technology, and cost. Let’s look at a few of the commonly used comparison criteria below:
Color or black and white
You need colored texture in order to see e.g. line drawing on models. This is particularly important if you, for instance, are working on digital removable partial dentures, where you have analyzed the model and drawn clasps to be followed. It adds an extra option for clear communication and can also help to educate technicians with less experience.
Number of cameras
The number of cameras tells you something about the maximum level of accuracy you can reach with the dental model scanner. Accuracy gains importance when working with implants for example. With more cameras, a scanner can collect information from deep inside the cavities which is especially useful for die-in-model scanning. In this case, there is no need to scan the dies separately which saves time.
Accuracy
The degree of accuracy of a scanner is expressed in microns. A micron measures length; one micron is one thousandth of a millimeter. To give you an idea of what this means: a human hair is about 5 microns across in width. An accuracy level of between 4 and 15 microns is the standard for lab scanners these days.
The number of megapixels that the camera can capture plays an important but not conclusive part too. A pixel is a single point in a graphic image. The pixels are so close together that they appear connected. The higher the number of pixels, the higher the accuracy.
It is important to keep in mind that even though sometimes higher accuracy is better, it also slows down the equipment because it will need time to calculate all details. In some situations, lower accuracy is therefore a better choice because it allows for faster work.

Dental lab software
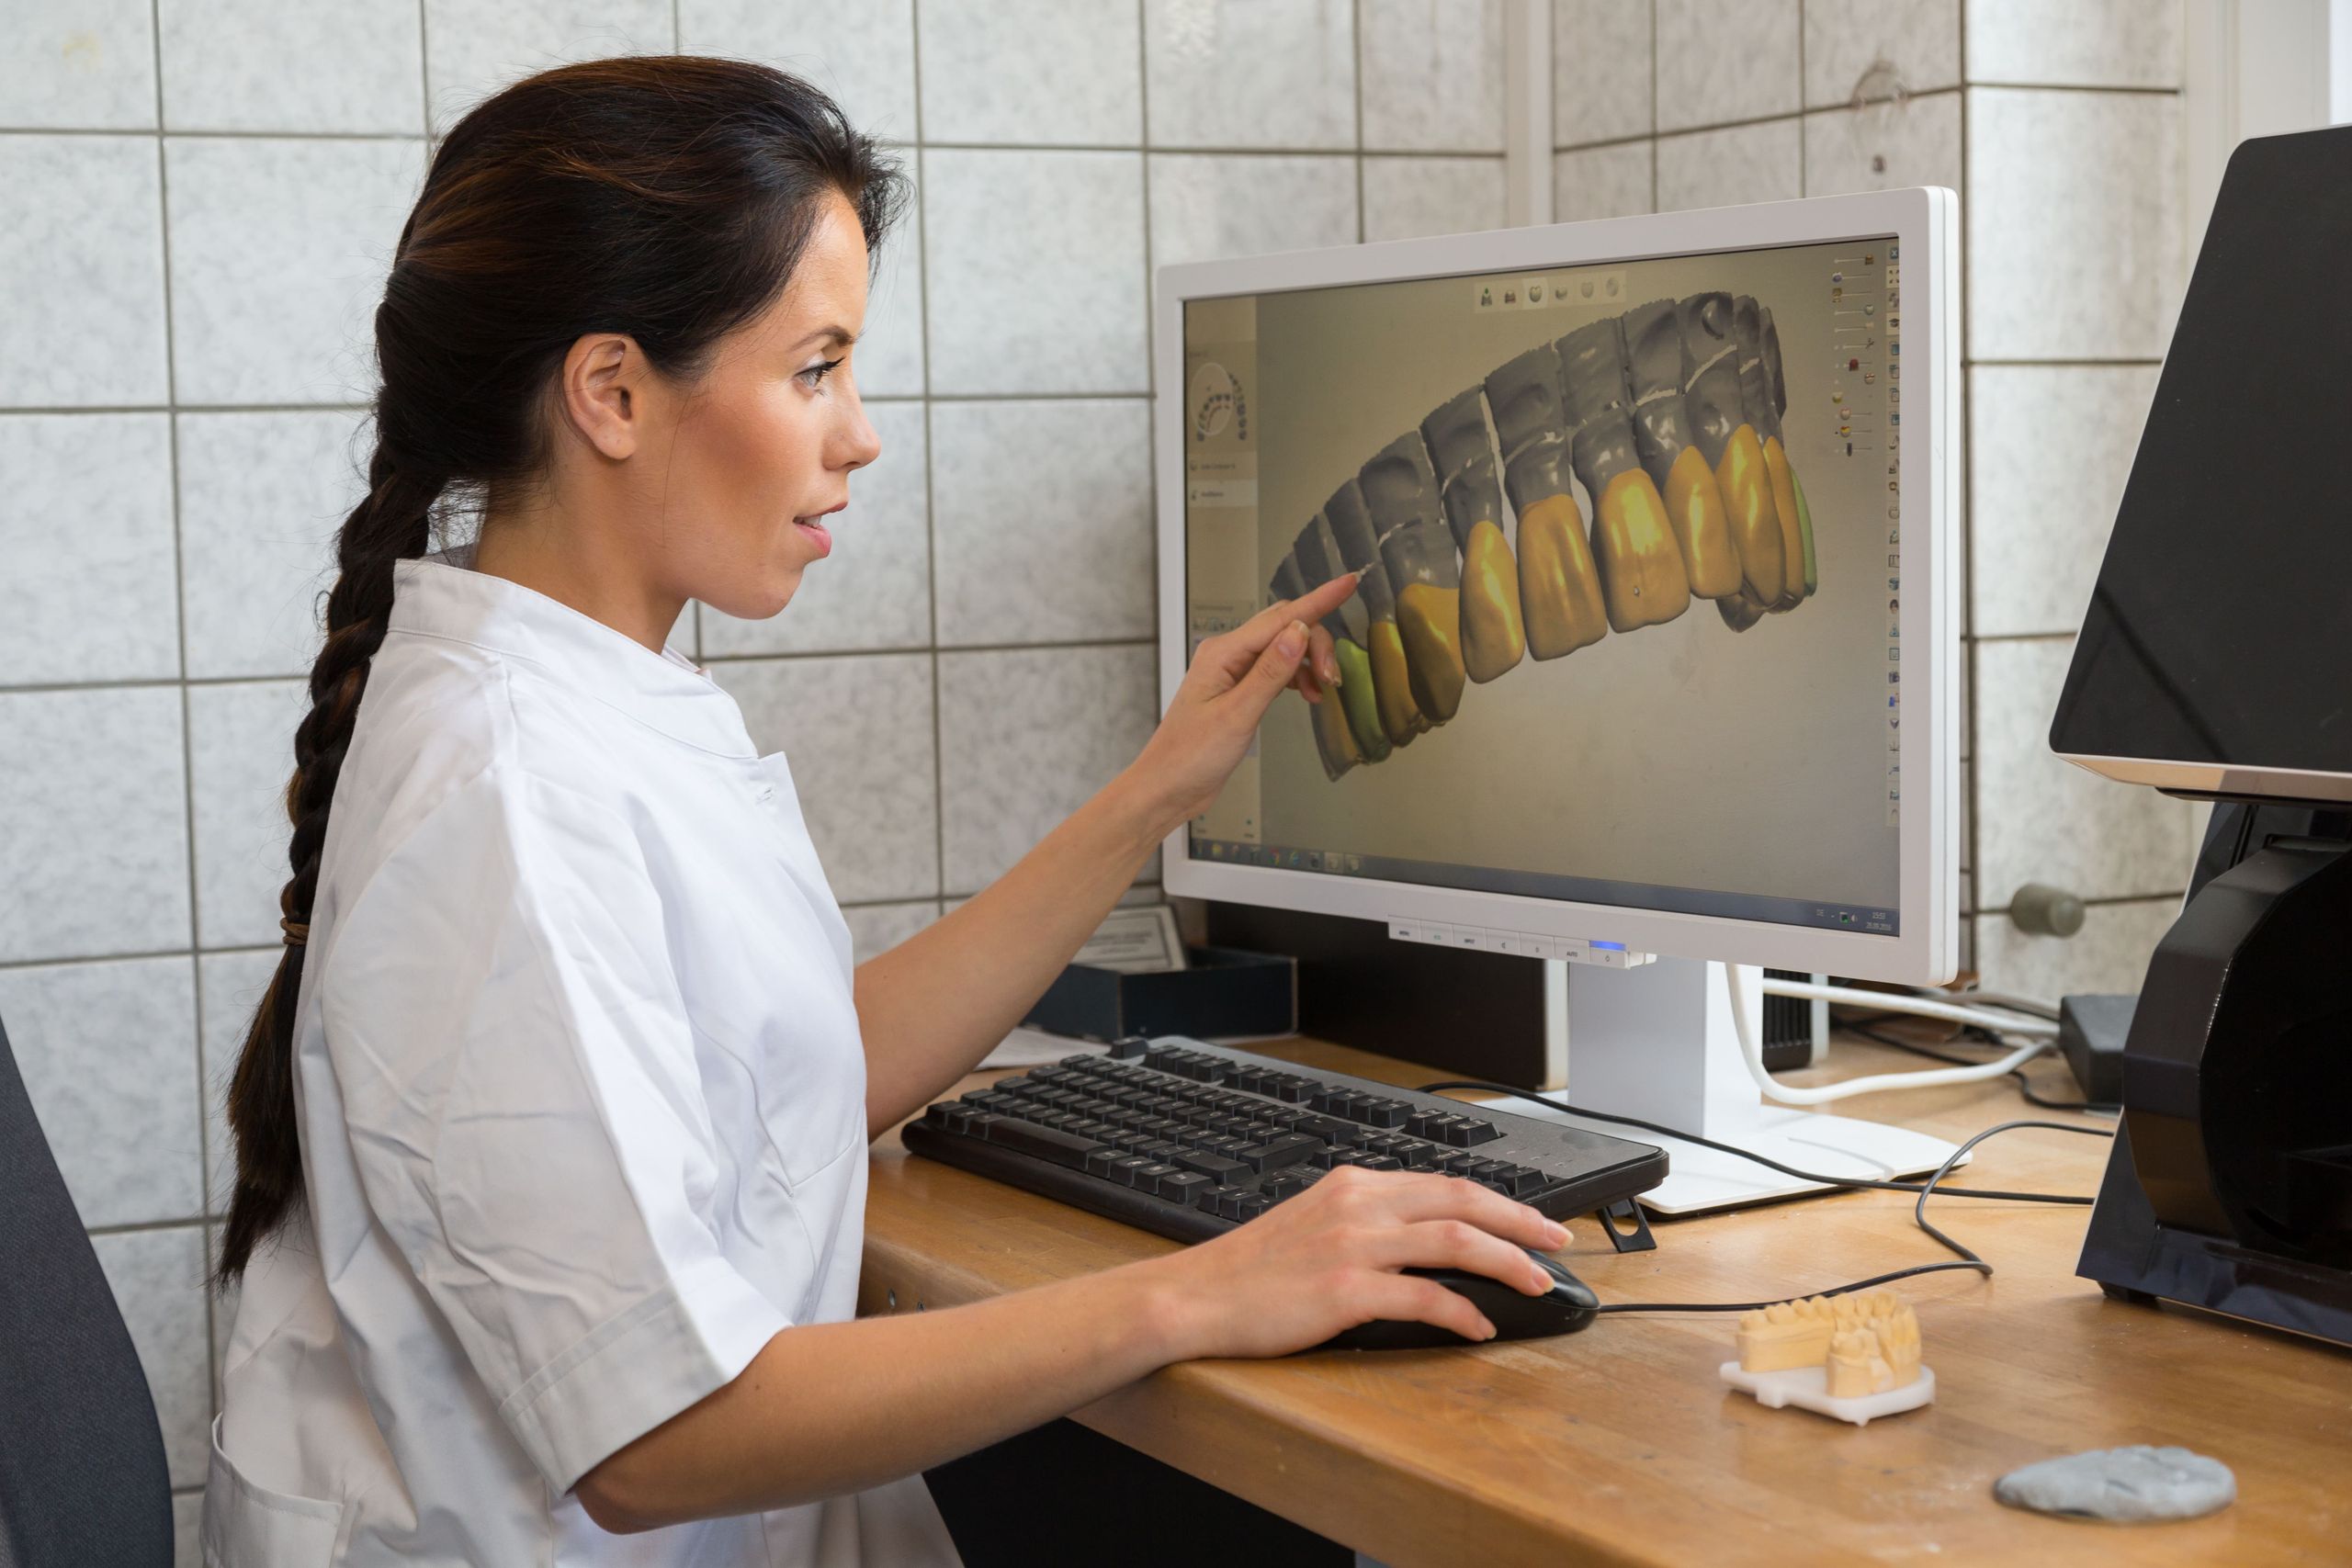
A 3D dental model scanner cannot work on its own. It will always come with some form of scanner software to -at a minimum- display the 3D file on screen and generate a dental project from it. In addition, dental technicians that design digitally, need access to a CAD solution that enables them to work on the file, and design the restoration, for example. Some scanner providers sell their products as a bundle: you buy the hardware and that comes with (a variation of) dental design software. An additional benefit of this is that you can often advertise your lab to their intraoral scanner users.
Other scanner providers sell their scanners as standalone items and in these situations, the dental lab needs to decide for themselves which CAD solution they want to work with. Another thing to keep in mind when assessing software options is how well the lab scanner integrates with other parties: it can be beneficial to ensure that your software can not only import your own scanner output, but also work with STL output or third party scans such as intraoral scans from Sirona, Planmeca or Carestream, even if you’re a 3Shape user yourself.

Support for lab scanners
When working with a lab scanner, the manufacturer will usually offer a support setup to help you with unexpected situations. It depends on the agreement whether you get support through your reseller or if you can get help from the manufacturer directly. Some agreements even include a service package that allows for unlimited support, upgrades and replacement service. LabCare for example is 3Shape’s way of offering labs peace of mind when it comes to their digital technology.
The price of a dental lab scanner
If you want to compare scanners for their price, it’s vital to keep in mind that accuracy and software options are two variables that highly affect the price. A dental laboratory scanner that is suited for an implant workflow and that comes with implant planning software will come at a different price than a scanner for a simple crown workflow that is sent off to a treatment provider. A scanner has to fit the lab’s overall needs and this is different from lab to lab. Most countries have dental purchasing partners that can help compare prices and setups in order to make the best decision for the lab.
Resources
- De Luca Canto G, Pachêco-Pereira C, Lagravere MO, Flores-Mir C, Major PW. Intra-arch dimensional measurement validity of laser-scanned digital dental models compared with the original plaster models: a systematic review. Orthod Craniofac Res. 2015 May;18(2):65-76. doi: 10.1111/ocr.12068. Epub 2015 Feb 11. PMID: 25677755.
- Lee SJ, Kim SW, Lee JJ, Cheong CW. Comparison of Intraoral and Extraoral Digital Scanners: Evaluation of Surface Topography and Precision. Dent J (Basel). 2020 May 20;8(2):52. doi: 10.3390/dj8020052. PMID: 32443865; PMCID: PMC7344681.